Wednesday, October 8, 2014

Robot Party Layout

Hello!  Last week, due to popular demand, Little Scraps of Heaven Designs re-released their Little Robots file that had previously been retired.  I was all over that file because I had just the perfect photos to scrapbook and tons of super cool robot papers.  Yep, my grandson's 6th birthday party last year was...wait for it... a ROBOT PARTY!  Woo Hoo!!!  So here's the beginning of what will probably end up being a few layouts to scrapbook the whole party.

(click to view larger images)

The Little Robots paper piecing pattern from LSHD was extremely easy to put together and has so many options of robots and gears.  Here's a closer look at just the first page:


To make the border of gears at the top of the page, I sized several of the gears in the Little Robots pattern on my virtual mat in SCAL2 and then made a copy of them and ungrouped them.  I then moved the gear copies around, overlapping all the different sizes and shapes, until I was happy with the look.  Next I selected the overlapped shapes and clicked on "Union" to make them all one piece.  After that I selected the piece and clicked on "Shadow Straight" at .50". Once all these pieces were cut out, I then placed the original individual gears onto the shadow.  I really like how it came out, especially using all the bright colors that were used at the birthday party.  Here's a closer look at the gear border:


I designed the "Robot Party" title from a font called Arcade Rounded that I have on my computer and replaced the "o's" in Robot with some smaller sized gears.  To make the title look more robot-like, I added a couple of silver Candi paper brads in the middle of the gears.  Too cute!

The frame for the picture was also designed in SCAL2 by welding two rectangles and one of the gears together.  I added a couple more colorful gears and a robot sticker I had on hand.  Worked perfectly if I say so myself LOL!


This little robot tag turned out adorable.  I placed the little knob/buttons over to the right side of its body and felt that was the perfect place to "journal" that it was Ace's 6th Birthday.  Love it!


And now for the second page:


Again, I sized several of the gears to embellish the bottom of the photo.  Didn't shadow this one...got a little lazy LOL! 


And, finally, here is my second robot.  Instead of him being a full-sized robot, I made him into a photo "peeker".  But that's not all...Surprise!  He's actually a hidden journaling tag tucked in between the two photo mats.


I hope you enjoyed seeing all the details of this Robot Party layout.  If you're interested in the Little Robots pattern, here is a quick link to the LSHD website where you can find it:


Until next time...Happy Scrapping!

Friday, October 3, 2014

Hocus Pocus Banner

Well, I can finally share pictures of a banner that I made for a ladies' event with a Hocus Pocus theme!  I waited until the event was over because a couple of my FB Friends were attending the party and I didn't want them to get a sneak peek LOL!

This banner was so much fun to put together.  For the base of each letter I used a paper piecing file from Little Scraps of Heaven Designs called "Banners Vol. 2". This file actually has four different shapes that can be used but I chose to use just three of them.  The one I didn't use is a Star shape.  Don't get me wrong, it's totally cute, but I just didn't think it went with this particular Hocus Pocus theme.

The banner was actually hung on a huge mirror so taking pictures of it was a little tricky.  


(click to view larger images)


The back base is made from black cardstock and then the inner base is made from a variety of Halloween papers that I had on hand.  To make the banner look more dimensional, I made some black Rosettes by cutting strips of black cardstock that measured 2.5" x 11.5" and then scored and folded them at every 1/2".  I then cut out some 3.5" orange circles and placed them on both sides of the rosette.  The letters were cut from a font I have on my computer called LD Frightmares on purple cardstock and shadowed in a bright lime green cardstock.  I also added some purple Stickles to the letters to give them an added punch, but mostly because I like sparkly letters LOL!

Black tulle held the whole banner together and I added some purple and green tulle on the ends.  I think this turned out pretty cool looking.  I got lots of compliments on the banner from the ladies and one of them actually loved it so much that she asked if she could use it for a party she was having.  Let's just say she now owns it and we both couldn't be happier.

Here are more detailed photos of each letter:


I hope you enjoyed looking at this project.  Here is a link to the Banners Vol. 2 cutting file on the Little Scraps of Heaven Designs website:


Enjoy your weekend!  Until next time...Happy Scrapping!

Hocus Pocus Thank You Cards

Well this was a FUN project!  I wanted to make some cards to give to my table guests to thank them for joining me at the Hocus Pocus event and was suffering from a creative block.  While browsing the Little Scraps of Heaven Designs website I came across this fairly new collection called "Halloween Stencils" and, all of a sudden, my creative block was OVER!!!  Out came the papers, cutting mat and adhesive and these babies were whipped up in no time.  I LOVE, LOVE, LOVE this stencil collection.  It is so danged easy to put these together that it's scary!  


(click to view larger image)

Seriously, these stencils are two pieces....yes, two pieces each (except for the skull -- you have to glue the eyes and nose on separately).  I cut these at around 3.5" x 3.5" (scalloped mat) and then made my own little card base by cutting strips of black cardstock 8.5" x 4.25", scored the strips in half and folded for a 4.25" x 4.25" card.  I then cut out 4" x 4" squares of Halloween paper and voila -- a simple card was done!

Here is the inside of my card that I typed up on my computer and printed:


Here's a closer look at the stencils:


There's another stencil in this collection - a Tombstone - but I didn't make that one.  No reason other than I wanted more "witchy" stuff for my cards since that was the theme of the party.

I can't stress enough how super cute these are in real life and how EASY they are to make!  Here's a link to the Halloween Stencil collection on the LSHD website:

http://www.littlescrapsofheavendesigns.com/item_1201/Halloween-Stencils.htm

Hope you enjoyed seeing this project!  Until next time...Happy Scrapping!

Thursday, October 2, 2014

All Clean Layout

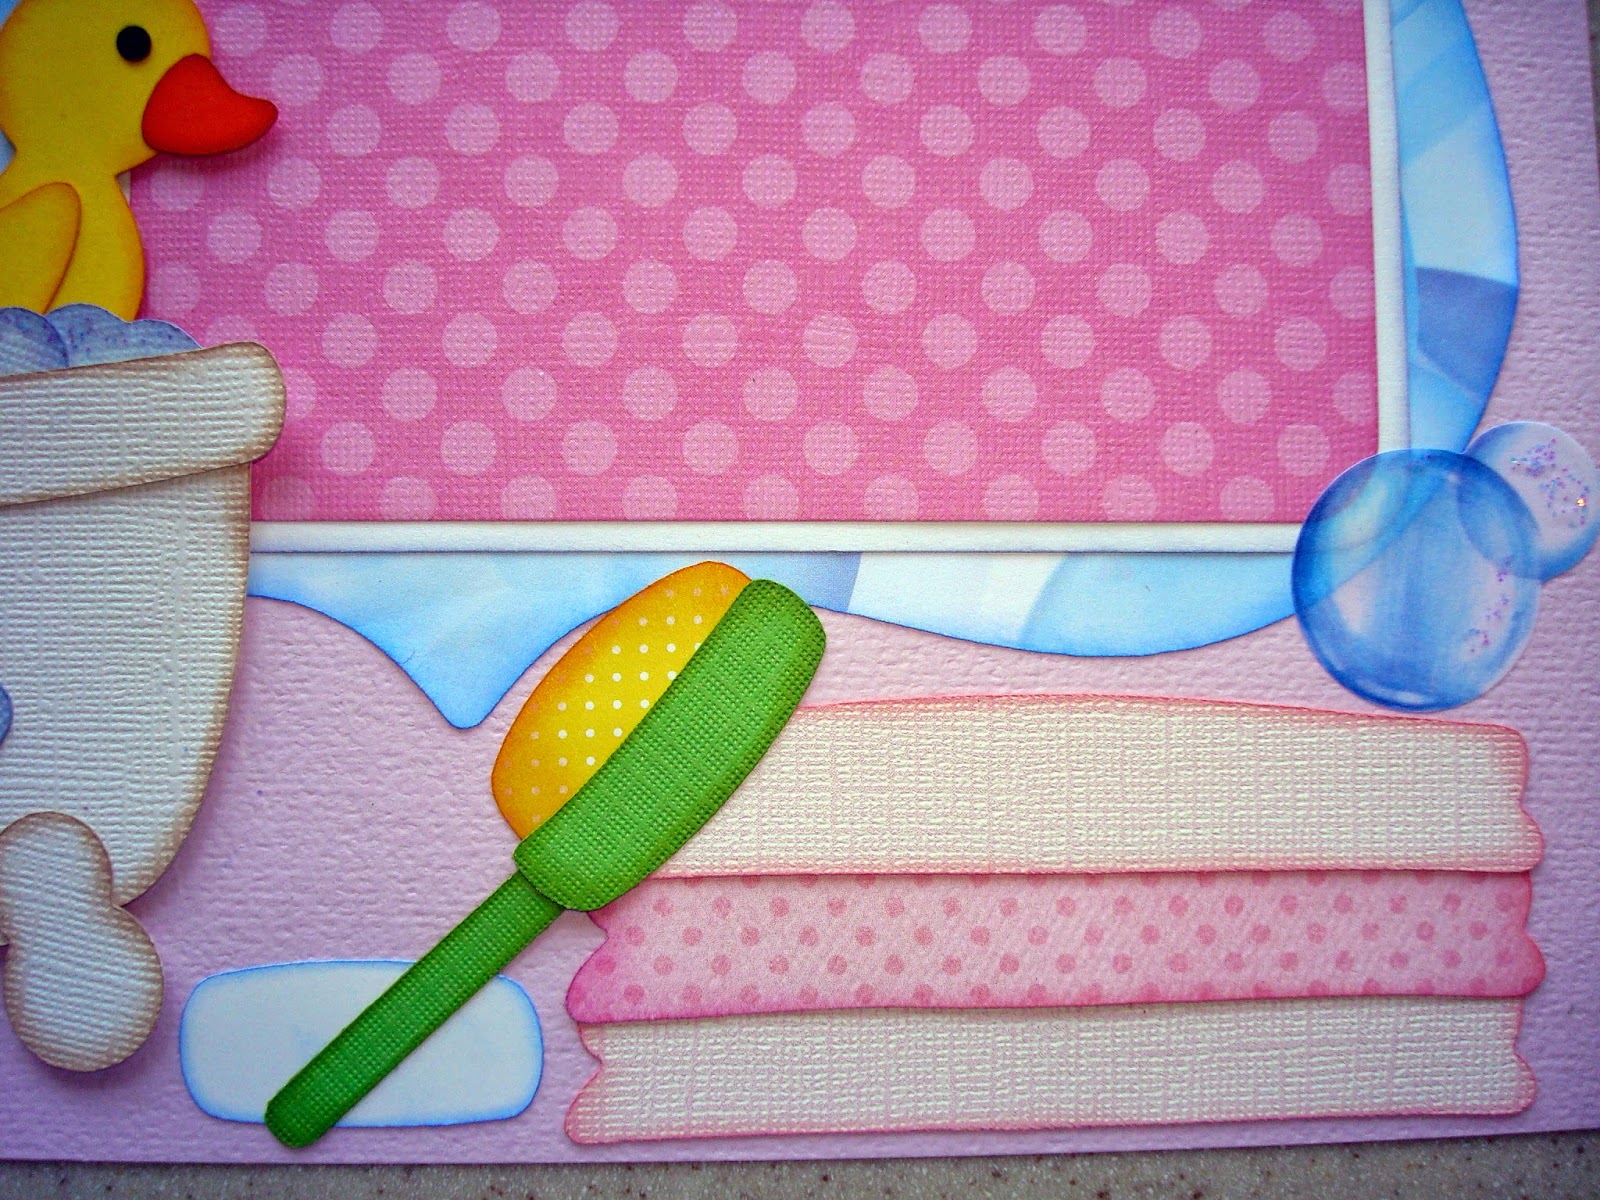
Today I'm sharing a one page layout titled "All Clean" that I made using paper piecings from the Little Scraps of Heaven Designs "Bathtime Bears" collection.  I also designed this page using the latest Sketch Challenge that is featured on the LSHD Facebook Fan Page.

(click to view larger image)

This little bear in the tub is so adorable and was pretty easy to piece together. Don't you just love all the bubbles?  I added a little touch of Icicle Stickles to the bubbles to make them stand out a little more. And, of course, you can't take a bubble bath without a rubber duckie, right???


A girl can't take a bath without having some of the other essentials...a sponge brush, some soap, and a nice stack of fluffy towels.


The towel hanging on the towel bar added just the perfect touch for this layout.


Although I usually design and cut out my own titles using SCAL, this time I used some letter stickers that I've had on hand for longer than I care to admit.  I thought the circle ones resembled bubbles and decided to use them.  The pink ones were used because...well...because they were pink LOL!

So this layout will be going in the baby shower gift album that I've been working on.  My goal is to get it completed and back into the hands of the mama-to-be by this weekend!  Wish me luck because I'll need it -- waay too many irons in the fire this week!

Here's a quick link to the "Bathtime Bears" collection on the LSHD website:


Thanks for looking...and until next time, Happy Scrapping! 

Sunday, September 28, 2014

Halloween Card Project

Good morning!  I hope everyone is having a great weekend and are hopefully getting some time to do some scrapbooking!  Here is a Halloween card I made yesterday that I think turned out so cute! It is made using the "Eyeball Gumball" cutting file from Little Scraps of Heaven Designs.

(click to view larger image)

After I put the paper piecing together the search for a background paper started.  Yep, it just wouldn't be ME if I didn't take like over an hour to find the perfect paper...but I did!!! It's so funny because I've had this particular paper for probably 10 years.  Guess it was just waiting for the perfect project to come around LOL!

But what good is a card if it doesn't go with a little present, right?  Well, take a look at these fun Halloween Eyeball Gum Balls I found at Michaels ~


I know, how perfect - right???  And I think I know a  certain little someone who would probably just love to have these Eyeball Gums.

Here is a quick link to the Eyeball Gumball file on the Little Scraps of Heaven Designs website for those interested:


Thanks for taking a look at my fun Halloween card project.  Until next time...Happy Scrapping!


Friday, September 26, 2014

So Thankful For YOU Layout

Happy Friday everyone!  Today I'm sharing a layout I just completed using some files from Little Scraps of Heaven Designs that will be retiring effective October 1.  If you like these little cuties and want them, you really need to get over to their website and grab them while they are still available!  Click on their RETIRING SOON link and check out all the files that will no longer be available beginning October 1.  I'll attach a link to that site at the end of this post.

Here is a look at the whole two-page layout:

(click to view larger images)

I think this turned out so adorable.  I designed my own title in SCAL using a couple fonts I have. The files that were used from the RETIRING SOON category on the Little Scraps of Heaven Designs website are called "Pilgrim Mouse", "Pilgrim Mouse Girl", and "Peeking Turkey".  

Here is a closer look at Page One:


I just love this little Peeking Turkey!

And now, a closer look at Page Two:


The cute little pumpkin files I used are from (yep, you guessed it!) Little Scraps of Heaven Designs and they are in the "Harvest Friends" collection. I've used these pumpkins on a couple layouts now so I guess you'd say I really, really like them LOL!  I'm not sure who I got the scalloped mat file from because I've had it ever since I first started using SCAL many moons ago.  I do remember that it was a freebie someone had offered to everyone on a Yahoo SCAL Users Group that I belonged to at the time.

As mentioned above, here is a link to the RETIRING SOON section on the Little Scraps of Heaven Designs website:


Thanks for looking at my latest project!

Until next time...Happy Scrapping!


Monday, September 22, 2014

If The Shoe Fits...

I thought I'd take a break from making layouts to work on a project I have been thinking about doing for a little while now.  I have an event coming up where we need some game prizes and I wanted to have something a little different in that area.  Hopefully the prize winners will like them (that is IF I don't decide to keep them for myself LOL)!  They are plate chargers that have vinyl designs applied to them that will be darling to have on display as part of anyone's Halloween decorations.  That's what I'm thinking anyway ... 

This first charger is decorated with the "Boots With Stars" file that I got from Little Scraps of Heaven Designs last year.

(Click to view larger image)

The boot was pretty easy to put together even with all the separate stars and layering two different colored vinyls.  I added three orange rhinestones to look like buttons were on the boot and then added the ribbon to make it look like the boot was laced up.  I came up with my own title and it was a little tricky to place around the edge of the charger.  To make sure the letters were the right size I first cut them out of regular black cardstock and placed them on the charger.  Doing this also helped to figure out the letter spacing. Once that was all confirmed, then I cut the title out in vinyl.  This probably sounds like a lot of work and time, but, in reality, it didn't take that long to put the whole thing together - plus it helps me use up some of my paper scraps!  Oh, and in case you were wondering, the charger and easel were purchased from Michaels a few weeks ago (loved the sale prices!) and I already had the two colors of vinyl in my stash.  If you're interested in the "Boot with Stars" file, you can find it on the Little Scraps of Heaven Designs website for $1.  Here's the link:


This next game prize charger was made using another awesome cutting file. The file is called "Trick or Treat Title" and it is from the Miss Kate Cuttables website.  I originally got this file last October as one of their daily Freebies but you can get it for the extremely reasonable price of 50 cents....YES, 50 cents!


Isn't this simple little charger just the cutest???  The graphic is all one piece which made it super easy to cut out.  It did take a little time to weed out all the tiny pieces from inside the web, but honestly it really wasn't that bad. I was so thankful to have my little handy dandy poker tools because they are just perfect for these types of jobs!  The end result is so worth the little extra time it took to do the weeding.  Here's a quick link to the "Trick or Treat Title" file:


I'm really liking how these "prizes" turned out, and I'm pretty sure I'll be making another one of each of these to add to my OWN Halloween decor!

Thanks for looking and, until next time ... Happy Scrapping!


Sunday, September 21, 2014

Ferocious Fun Layout

Here is another layout I made using not only files from Little Scraps of Heaven Designs, but also their current Sketch Challenge that is going on until the end of September (my title page is based on the Sketch).  The cutting files I used are "Dino Land", "Dinosaur Tracks", and "Dino Sign".

(Click to view larger images)

Here is a closer  look at Page One and the paper piecings I made:


And now the second page:


This layout was the perfect opportunity to use up some of the Basic Grey "Archaic" collection papers that I've had FOREVER and all the dinosaur cutting files I used from Little Scraps of Heaven Designs blended with those papers perfectly.  I have to admit that the hardest part to this layout was coming up with a title. It actually took me a couple days and, for whatever reason, when I woke up this morning it came to me...FEROCIOUS FUN!!!  The font I used to design this title in SCAL is called "SkaterDudes".  I think it turned out adorable and looks so cool on top of the Dinosaur Tracks and bones.

Did you notice the little Dinosaurs hiding in the brush on both pages?  I made these little epoxy stickers using paper scraps and the Epiphany Crafts Oval Punch (something else I've had FOREVER and keep forgetting about LOL)! 


Thanks for looking and, until next time...Happy Scrapping!