Friday, September 11, 2015

Today I'm sharing a Halloween layout I made using the Cuddly Critters Bat, Cuddly Critters Spider, and the Boo Title. I just love how these three files look together!   

(click to view larger images)

Here's a closer look at each page:


I also took the little spider web inside the Boo Title and turned it into a fun border by copying it several times, welded it all together, and then created a shadow for it. 


I hope you like my BOO layout and that my use of all these patterned papers doesn't scare you LOL! 

Thank you for stopping by!  Until next time...Happy Scrapping!

Let's Play "Catch Up"

So...... it certainly looks like I've been neglecting my blog so how about I get everyone all caught up on my projects!  There's been quite a few, so bear with me while I show them all to you!

Let's start off with where I left off -- Here is a fun layout I made for my personal scrapbook of my grandson at his very first Fun Run Race that took place 3 years ago! It was at a "Color The Skies" event which hosts Hot Air Balloon enthusiasts and also includes a Kids' Fun Run as well as a 5K and a 10K Race, Kite Flying Events, carnival rides, and all kinds of family fun. For this layout I used the Cuddly Cute Designs "Color Run" pattern and just omitted the color splatters. Voila! Instant race pattern! I just love how versatile these cutting files are and how you can certainly make them work for just about any theme for your crafting projects.

(click to view larger images)


Next up is my take on the High School Titles file by Cuddly Cute Designs.  I used our local high school's colors for these and tried them in different color combinations.  This file is the absolute easiest to make!


Our evenings and mornings are starting to cool down and it won't be long before Fall will be here. I just love seeing all the trees changing colors, and so I'm sharing a layout I made that I titled "NUTS for Fall". My paper piecings are all made from patterns by Cuddly Cute Designs and they are the Cuddly Critters Squirrel, Fall Title, and the tree/leaves are from the Leaf Pile collection. I designed the word "NUTS" in SCAL2.  I think Fall is my favorite season mainly because of all the beautiful earthy colors, and I really hope my layout does them justice.


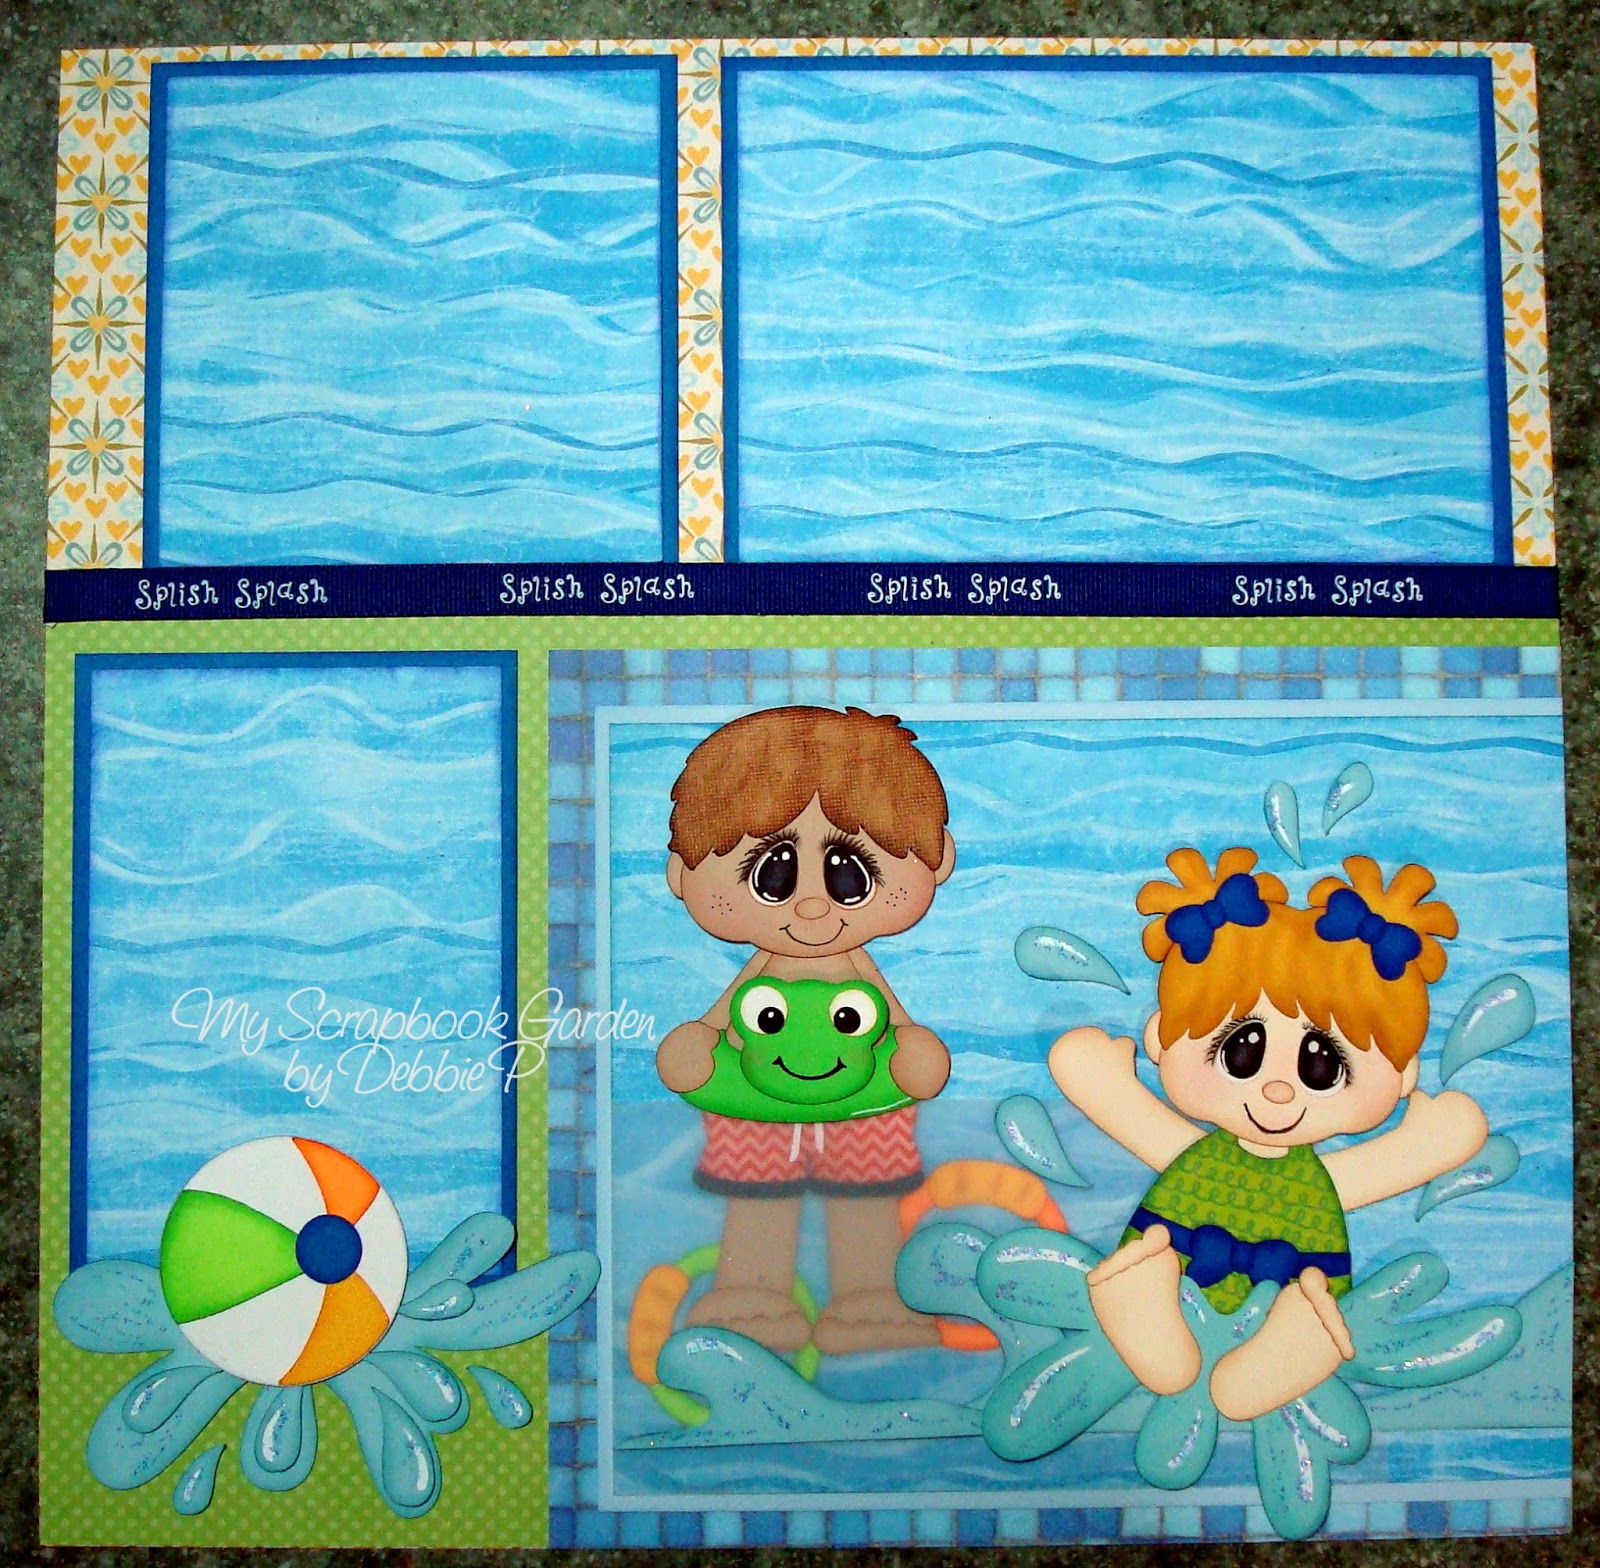
I have so many photos of the grandkids playing, splashing and jumping in the pool, so I made a fun layout to put some of them on. I used pieces from two patterns by Cuddly Cute Designs and they are the "Splash Zone" and "Pool Party" files. These two files work so perfectly together! 


I used some vellum paper across the little boy with the frog swim ring to make it look like he was floating in the pool:


Let me just start out this next layout by saying I totally LOVE all the Grade Titles by Cuddly Cute Designs! They are so fun to assemble and turn out looking so amazing! As I was looking at all the grade sets and thinking about my seven grandkids, it dawned on me that we have one in 2nd, 3rd, 4th, 5th, 6th, 7th, and 8th Grades! Now what are the chances of THAT happening, right? So I decided to make a "2015 combo" layout starting off with the 2nd thru 5th graders. I used... the ELEMENTARY BEARS pattern for the 2nd, 3rd, and 4th Grades, and the 5th Grade title is from the MIDDLE SCHOOL TITLES file. I also used some of my supply stash of buttons, journal cards, and punch-out numbers (remember those?). And I really need to give a shout-out to Debbie Mumm for my "older" school papers used here because I absolutely LOVE how the graphics on the pages actually MATCH when you put two of them together (total pet peeve of mine!). I have to say that I think this is one of my absolute FAVORITE layouts that I've ever made.  Now all I need are this year's school pics of each of the kids and these two pages will be complete!


Here's the continuation of my school pages I made earlier for my grandkids' 2015 school pictures. This layout is for the 6th, 7th, and 8th graders and I used the Cuddly Cute Designs "Middle School" title set and also pieces from the "Earth Day Bear" (the globe) and "A Penny Saved" (the cent sign) files:


Here is a layout that I've been wanting to do for a while now. I found this older paper by Graphic 45 with the words to Twinkle Twinkle Little Star printed on it and immediately knew it would go perfectly with the Cuddly Cute Designs "Sweet Dreams" pattern. So here is my "Twinkle Twinkle Little Star" layout. Besides the CCD paper pieces, I also used my Sizzlets Cat n Mouse alphabet for the wording. Such a whimsical font and I think it's perfect for this project, don't you?


Thank you for your patience and I hope you enjoyed all these projects!

Until next time... Happy Scrapping!


Tuesday, August 11, 2015

Back to School Layout

Cuddly Cute Designs came out with an adorable "School Kid Cuties" file this last week and I just couldn't wait to get my hands on it AND last week's freebie, which was the "Back to School" title.  Here is my layout:

(click to view larger images)

Both of these patterns were pretty simple to put together.  For placing these piecings on my layout, I used some foam dots to pop them up to give them some dimension.  I thought this was important to do, especially with the School Kid Cuties, since I used a patterned background and didn't want my paper pieces to get "lost" on them.


The banner pieces are actually from a school-themed sheet of paper that I had in my stash that has all kinds of fun school items on it that you just hand-cut and use as embellishments.  These banner pieces were so cute and the colors worked perfectly!

And, to top off my photo mat, I used some tiny binder clips I got a really long time ago at a scrapbook store. I think they are a perfect addition to the page, don't you?


I hope you enjoyed this Back to School project! Thanks for looking and, until next time... Happy Scrapping!


Tuesday, August 4, 2015

Two New Projects

I started this week off with a fun and quick layout using the new "Golf Cart" pattern by Cuddly Cute Designs. This file was super simple to cut and assemble! As soon as I saw this pattern I remembered some photos I had taken of the kids and grandkids several years ago all piled up in golf carts and loving their rides up and down the street. I popped up the paper pieced golf cart with foam tape for dimension, added a title, and the layout was done! 

(click to view larger images)

Here's another fun project I made using last week's Cuddly Cute Designs' FREEBIE file, "Carnival Games". I didn't really have a project planned when I was cutting it out and assembling, but I kept remembering something I saw on the Internet somewhere a while ago that had a saying sort of like this one and thought, 'how fun would this be to make as a wall hanging for my scraproom?' It's a little "tongue in cheek" and different, but oh so true and I'm sure there are some of you out there who could totally relate!!!


Don't you just love it when you can use any of these great CCD files for something fun and crazy??? I sure do! This Carnival Games cutting file was so easy to put together and is available under the "Past Freebies" link on the CCD website! 

Be sure to check out these files and all the other amazing ones on the Cuddly Cute Designs website: www.cuddlycutedesigns.com. And don't forget they have a great End of Summer Sale going on! 

Until next time... Happy Scrapping!


Saturday, August 1, 2015

Par-Tee Time Layout

Hello fellow scrapbookers and crafters!  Today I'm sharing a two-page layout using the "Par-Tee Time" cutting file by Cuddly Cute Designs.  

(click to view large images)


Did you notice the golf ball brads?  I don't even know how long I've had those in my stash, but it's been a very long time and I was happy I actually remembered I had them LOL!


These little golfers turned out so adorable!  I added a little bling to the girl's visor to look like her magnetic ball marker clip and also added a couple adhesive pearls as buttons for her top.  The navy blue golf bag was super simple to assemble!


And how about this little guy?  He is definitely ready to chip his ball onto the green.  Looks like a red flag, so that means the cup is at the front of the green!


Every course has some flowers on several holes, so I thought I'd add some here behind the "green".

The title was so easy to piece together.  I just LOVE how it was designed and all the different layers. Trust me, it is WAY easier to assemble than it looks!  I had the golf ball mat that I used under the title in my stash.  I actually made it a very long time ago but never used it, so this was the perfect project for it!  I purchased that cutting file from a website called mamawslegacy years ago, like 2010, but the very talented lady no longer designs or sells her cutting files.  You gotta admit this golf ball is pretty awesome looking under my title...


Now that you've seen how the paper pieces look in "real life", here's what the cutting file looks like on the Cuddly Cute Designs website:


So there you have it!  I hope you enjoyed my latest project.  Until next time... Happy Scrapping!